San Francisco Museum of Modern Art
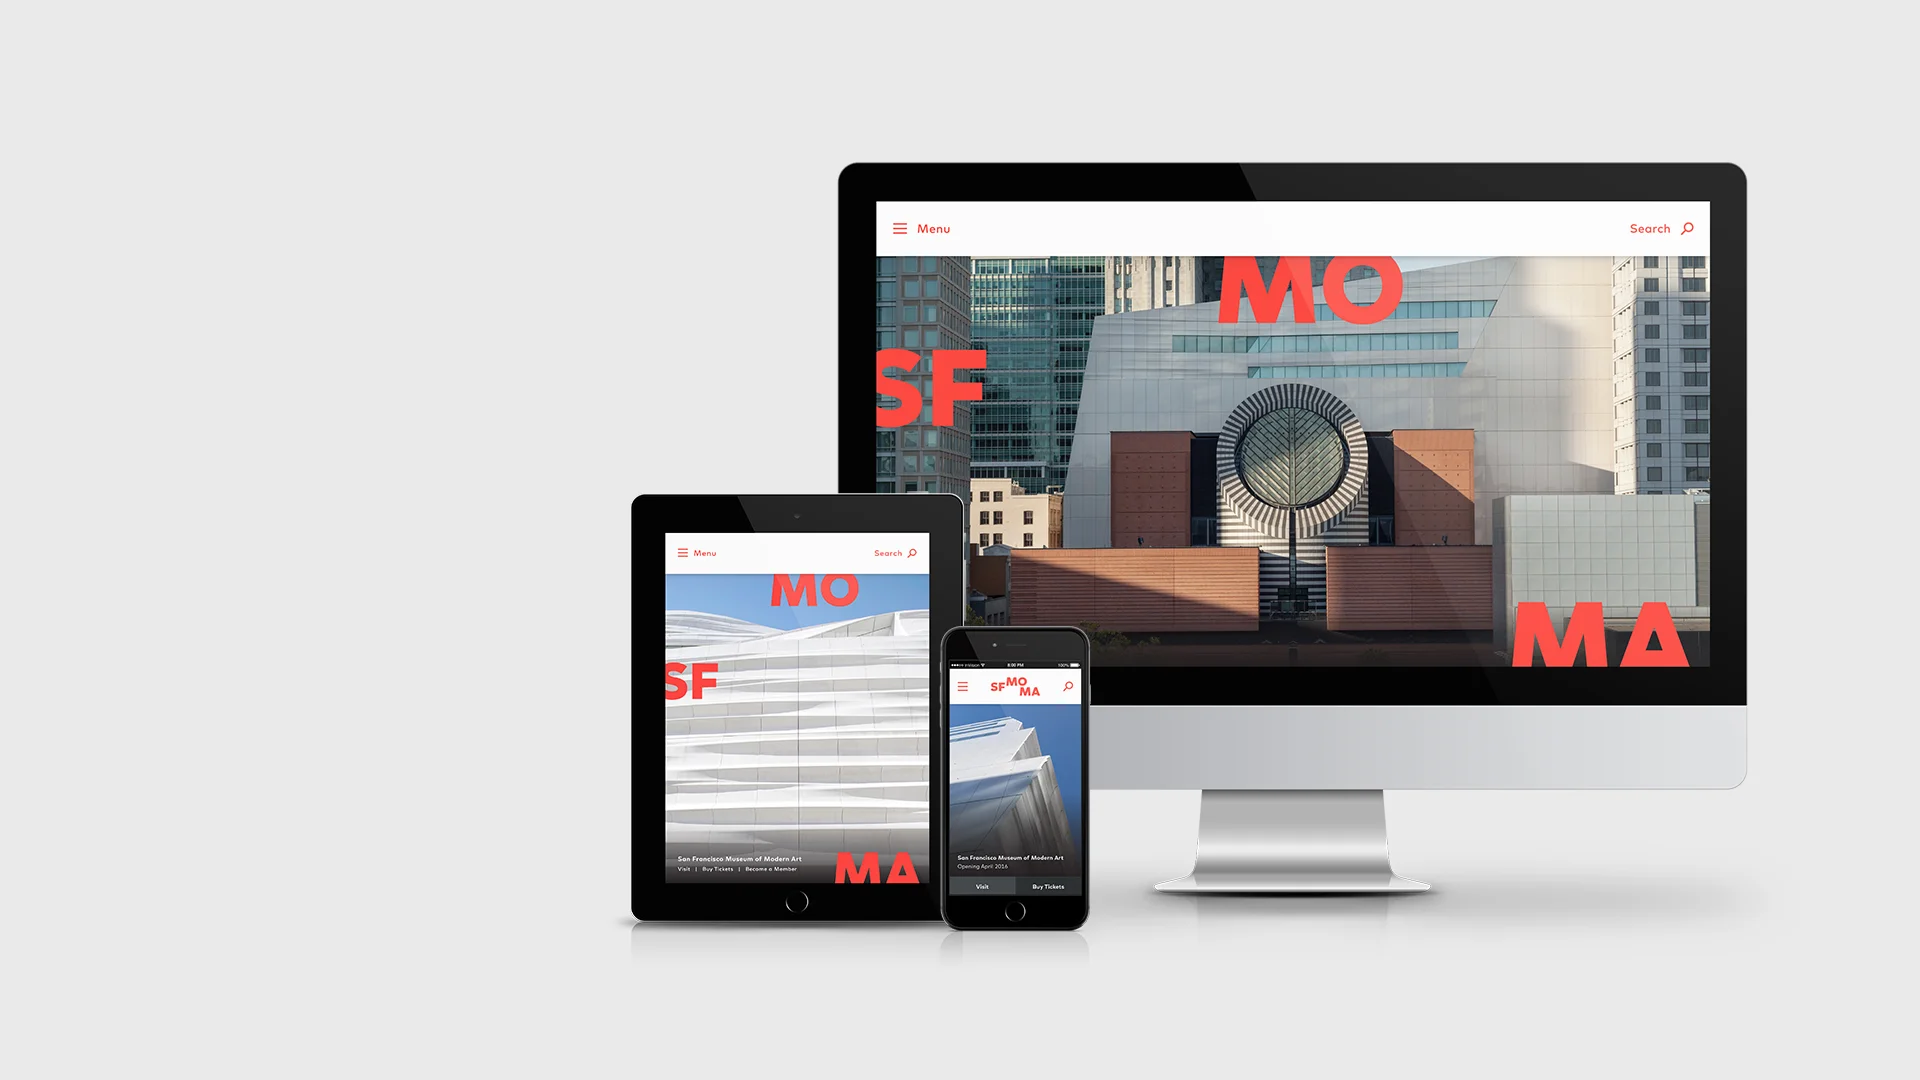
A ground up redesign of the visual identity for the San Francisco Museum of Modern Art. The overarching project consisted of a new logo, custom typeface, color palette, website and digital style guide, architectural signage, print collateral, Museum Store products, and more.


The letters oscillate between a contracted and an expanded version. The two states actively respond to different formats and content, allowing the identity to become a conceptual lens through which the program of the museum is experienced.
The contracted logo expands to reveal content framed within it.


An essential ingredient of the new visual identity is the custom typeface. It serves as the glue, providing distinction and cohesion throughout the entire program. A very flexible typeface was required to address the museum's specific needs,— a wide range of contexts and requirements, from architectural signage to long-form reading in books to legibility on digital screens.


A graphic pattern was developed in response to the various textures found on the interior and exterior of the building. Both structured and organic, the pattern references the hills of San Francisco as much as the museum itself.
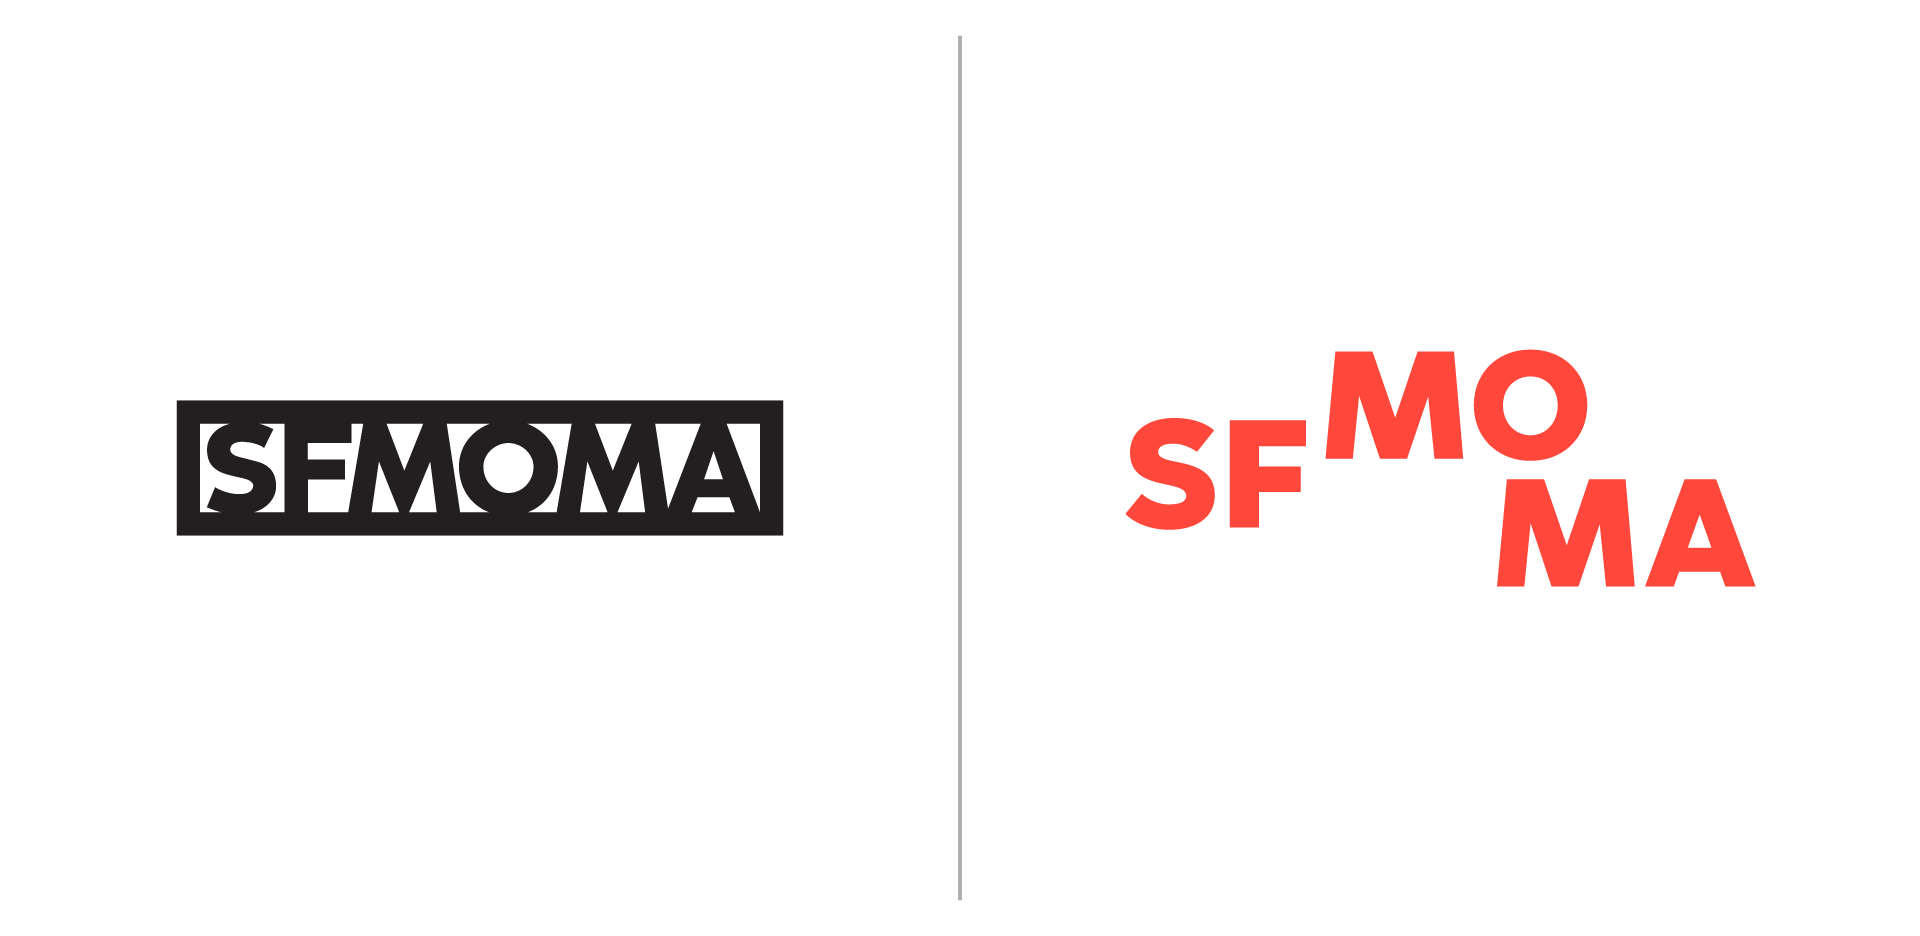
The old logo (left) is closed off in a way that was suffocating. The new logo is deliberately open and porous, welcoming you in from multiple access points.


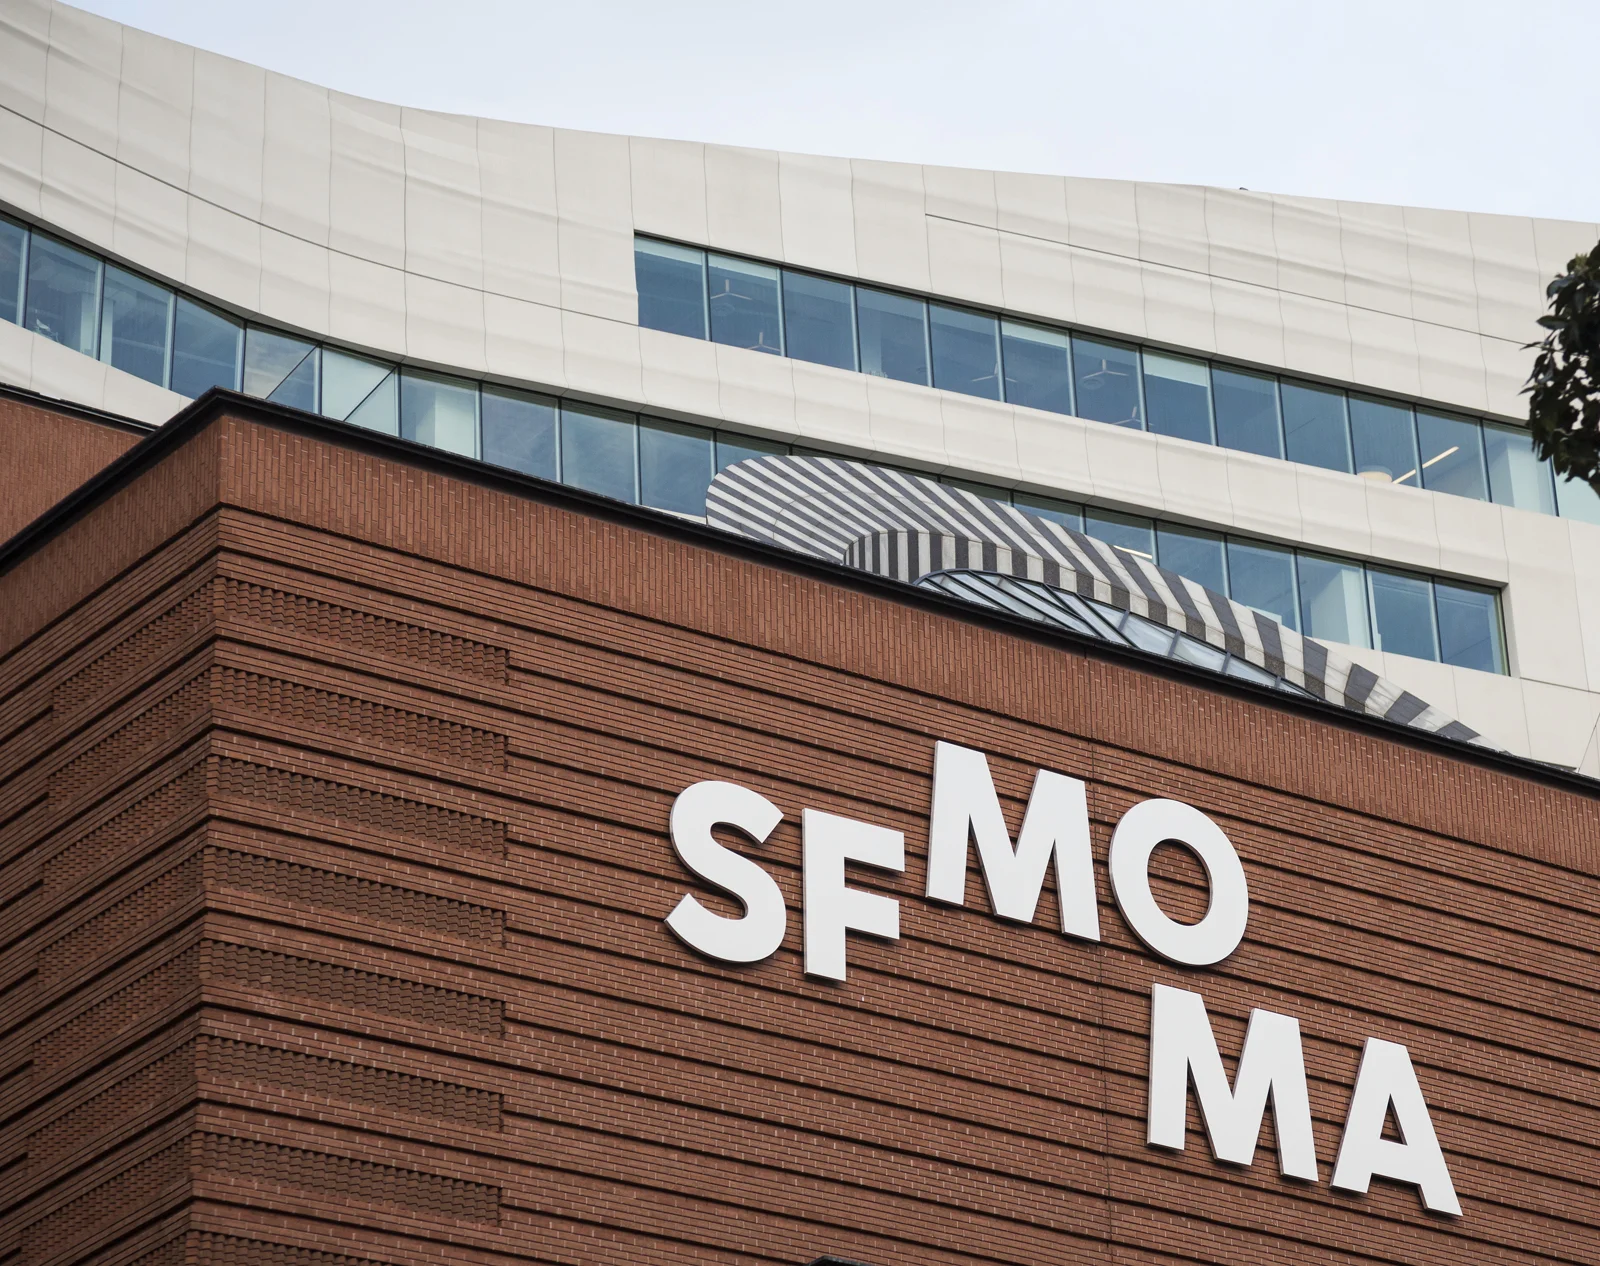
The Botta (left) and Snøhetta (right) buildings as seen from street level


Museum goers enter the building by walking through the expanded logo


Wayfinding signage installed directly on the elevator doors


Wayfinding icons were developed specifically for the project using the SFMOMA typeface as a basis. The icon set includes a non-traditional representation of a family for its Family Bathroom sign in order to reflect the progressive mindset of the Bay Area while reinforcing the values of the institution.

The flexible identity allows for a playful and unique approach to various print materials, Museum Store products, and any other application within the SFMOMA brand


Design Director: Jennifer Sonderby
Art Director: Bosco Hernández
Senior Designer: James Provenza
Designer: Sophine Lim
Designer: Mathieu Stemmelen
Designer: Amy Yu Gray
Project Coordinator: Carrie Taffel